TopSolid PDM Web Explorer | จัดการไฟล์ CAD/CAM อย่างมืออาชีพ


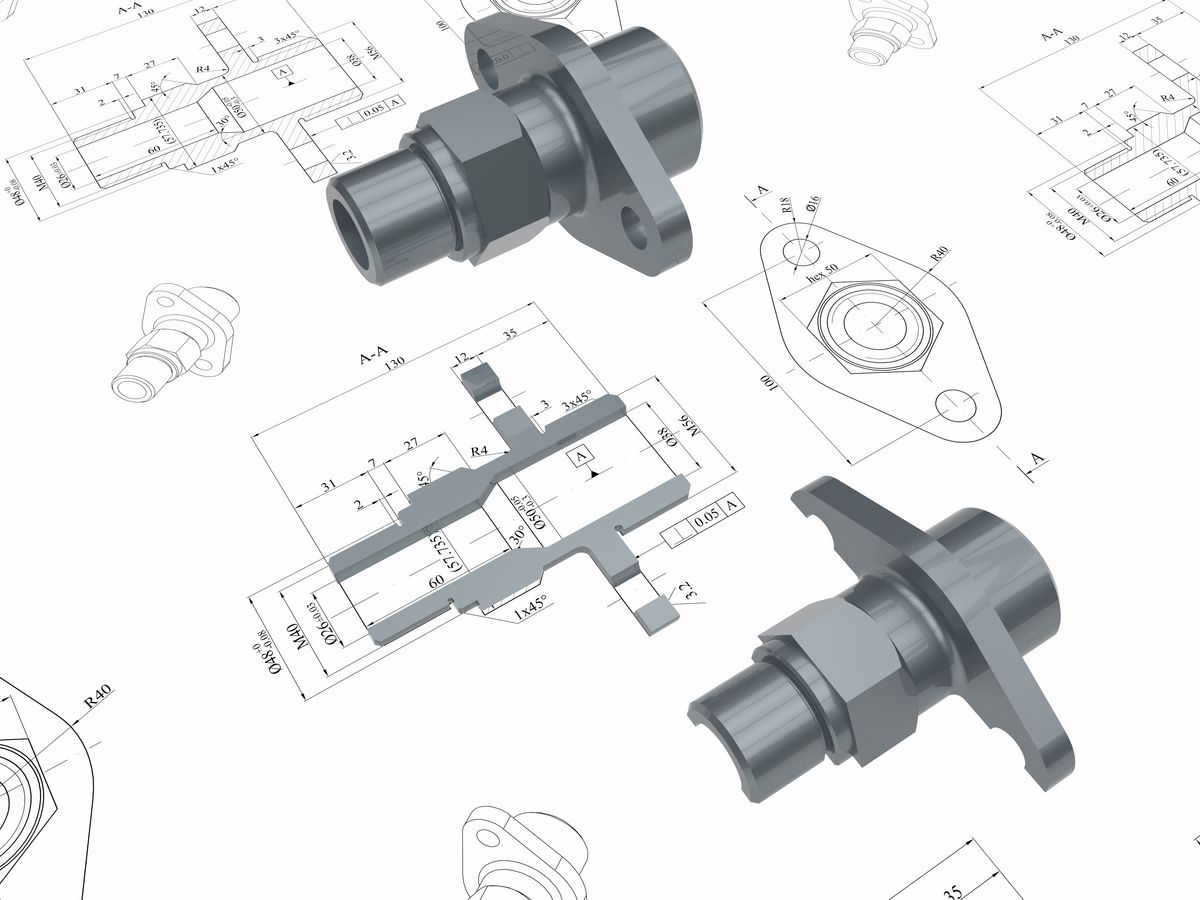

TopSolid โปรแกรมชั้นนำด้านงานวิศวกรรม มีโมดูลมากมาย ตอบทุกโจทย์ CAD/ CAM/ MOLD/ DIE/ CAE/ WOOD/ STEEL/ PDM
ให้คุณมากกว่าโปรแกรมทั่วไป
โปรแกรมระดับ World Class สำหรับงาน Mechanical Design ที่ให้คุณมากกว่าโปรแกรม 3D ทั่วไป ใช้เทคโนโลยี Advanced Hybrid Modeling ทำงานแบบ Seamless และ Fully Integrated ในทุก ๆ Modules การผสมผสานกัน Wireframe, Sketch, Surface, Solid, Feature Base, Parametic และ Hybrid Modeling ที่ครอบคลุมงานทุกๆ ด้านตั้งแต่ Industrial & Product Design, การวิเคราะห์ FEA, Dynamics Motion, Reverse Engineering และ ERP ไอคอนและเมนู จัดกลุ่ม Optimized ให้ลดลงและเรียบร้อย เพื่อเพิ่มความสะดวกสบาย พื้นที่การทำงาน ใช้ได้ทุกภาษา ตาม Font ของ Windows ทำให้ใช้้งานง่ายกว่า ใช้เวลาเรียนรู้ สั้นกว่า มีเมนูหลายภาษาให้เลือกใช้เช่น ญี่ปุ่น จีน ไทยและอังกฤษ-ไทยเพื่อความเหมาะสมกับทุกๆ ท่าน
51 คีย์ลัด TopSolid
1. Operation Manager
| F2 | Comment Edition |
| F3 | Operation Search |
| F4 | Link edition |
| Ctrl+L | Show Layers Dialog Box |
| Ctrl+I | Display Information On Selected Operation |
| Ctrl+D | Display Database Structure On Selected Operation |
| Ctrl+X | Cut Selected Operations |
| Ctrl+V | Paste Selected Operation |
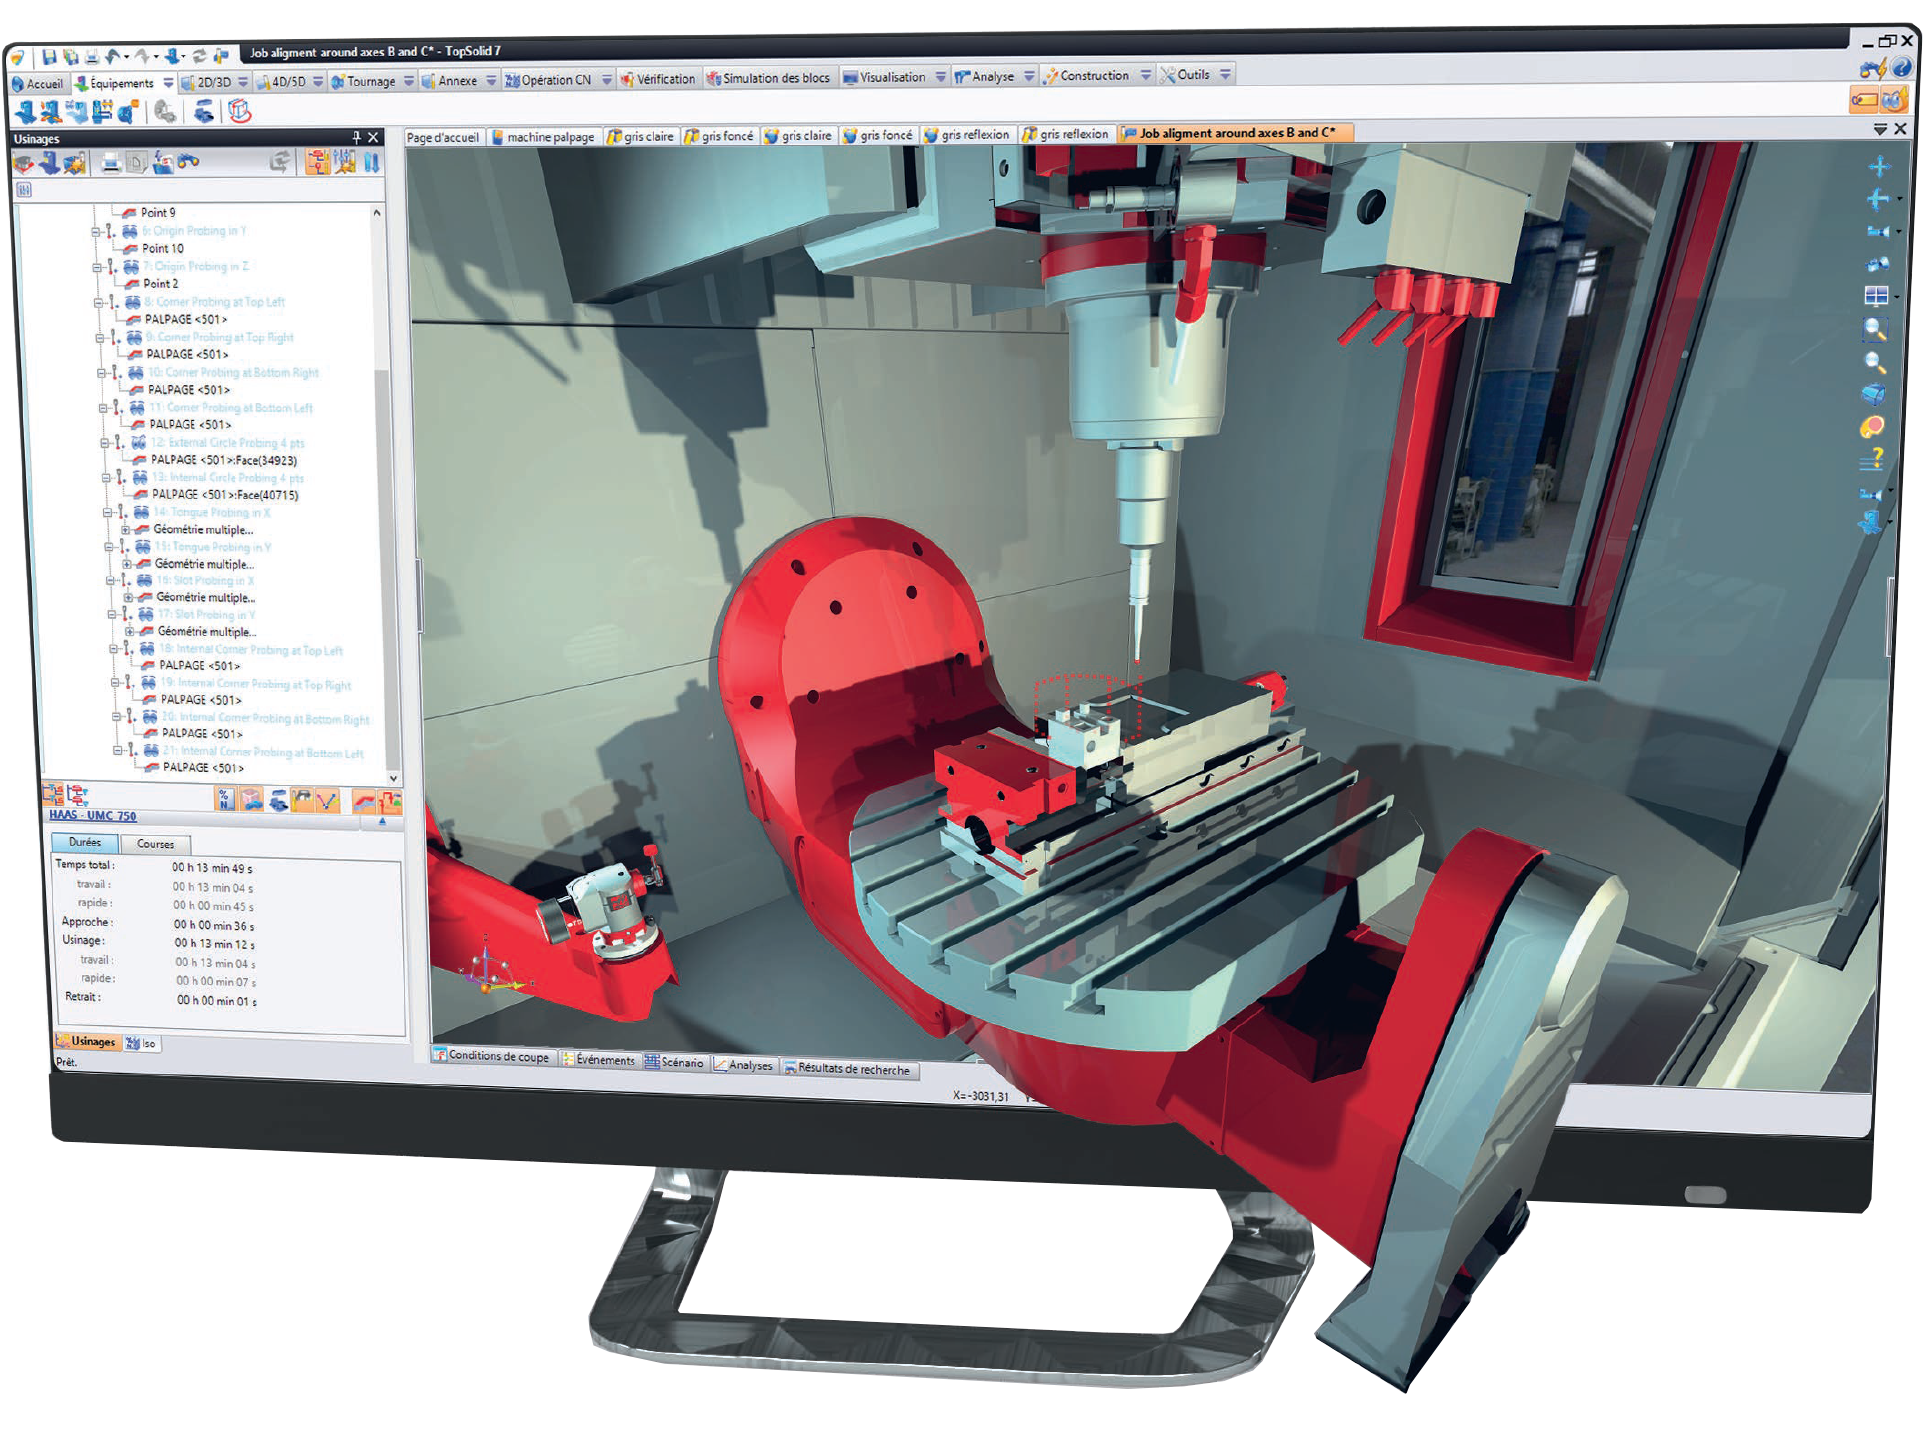


2. Simulation
| Specebar | Stop or Start a Simulation |
| / | Jump to The Next Move |
| Z | Jump to The Next New Z Point |
| + | Increase The Simulation Speed |
| – | Reduce The Simulation Speed |
| Esc | Left The Simulation |
| Tab | Jump to The Simulation of The Next Operation |
3. Verification
| Left Arrow | Go Back to The Initial State |
| Spacebar | Stop or Start a Verification |
| / | Next Cut |
| T | Show The Tool Path |
| S | Change The Tool Path Display |
| A | Display The Current WCS |
| Z | Zoom on An Area of The Part |
| P | Execute An Hardcopy |
| + | Increase The Verification Speed |
| – | Increase The Verification Speed |


4. Part Clamping
| + | Rotate The Selected Clamp In The Counter Clockwise Direction |
| – | Rotate The Selected Clamp In The Clockwise Direction |
| F | Opan The Face Selection Where to Put The Clamp |
| X | Lock/Umlock X Axis for Clamp Positioning |
| Y | Lock/Umlock Y Axis for Clamp Positioning |
| Z | Lock/Umlock Z Axis for Clamp Positioning |
| F1 | On-Line Help |
| F2 | Information on Selected Element |
| F3&Lmb | Zoom |
| F4&Lmb | Pan |
| F5&Lmb | Axial Rotation Along X |
| F6&Lmb | Axial Rotation Along Y |
| F7&Lmb | Axial Rotation Along Z |
| F8&Lmb | Graphical Section |
| F9&Lmb | Spherical Rotation |
| F11 | Recorganize The Floating Icon Bars |
| F12 | Display/Hide The Floating Icon Bars |
| Ctrl+Z | Undo Step By Step |
| Esc | Exit of The Current Function |
| Ctrl+A | Cancel All Actions of The Current Function |
| Ctrl+O | Open/Close Symbolic Tree |
| Ctrl+1 | Fit Screen Zoom |
| Ctrl+Tab | Toggle Between Open TopSolid Documents |
| Ctrl+Lmb | Spherical Rotation |
| Shift+Lmb | Pan |
| Ctrl+Shift+Lmb | Zoom |

